Previous Controllers
Last year (2025) I upgraded my boring Christmas lights with some fancy new xLights driven RGB pixels. I purchased several corrugated plastic construction props which I mounted on wooden frames and screwed to my back fence (visible from a major trunk road in my city) and wired the pixels up with home made controllers using ESP8266 development boards slung in an IP rated box.
I have 4 props, approx 750 pixels in total. All pixels are 5V and each prop draws approximately 5A at white full brightness. Due to this I chose to have 4 separate controllers using a 40W power supply for each. Each controller box had an ESP8266 board, sacrificial pixel (to boost the 3.3V data line output from the MCU to 5V for the chain of pixels, a 7.5A DC automotive fuse and various connector blocks to wire it all together. Each controller was running WLED and listening to E1.31 DMX over IP protocol.
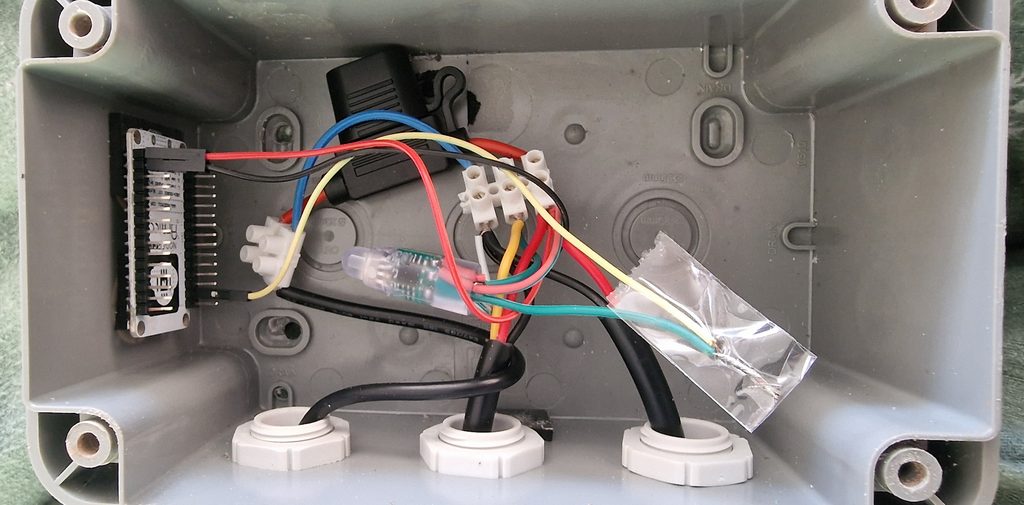
Above: An example of the old style controller, it looks like this one had a field repair at somepoint using the “twist and tape technique” 🤦♂️. These controllers suffered from a few problems.
- PCB Trace WiFi Antenna: Very poor connectivity back to the house, needed to deploy an extra access point in the garden shed for reliability purposes
- No DDP Support: WLED’s E1.31 / Art-Net DMX over IP implementation was somewhat unreliable
- WLED Firmware Bloated: WLED had a lot going on for an ESP-8266 MCU, mostly features I didn’t use. I suspect it probably would run fine on an ESP-32 but it maxed out at just over 20 FPS and would sometimes stutter
- Multiple Controllers Messy: Overall the back fence had 5 IP rated boxes mounted, 1 for each controller and one for the 4 power supplies and the end of an extension lead, this was more complex and ugly than it needed to be
New Controller
To tidy up and reduce the complexity of the setup I decided to order an off the shelf pixel controller kit, there are a few available including those by Falcon and Baldrick. In the end I opted for a Baldrick V2 8 Port. Mostly because the Falcon base model controller features 16 output ports which was overkill for my requirements, and the board was much more expensive (£230 vs £60 for the Baldrick). The Baldrick was also highly reviewed and has a number of compelling features;
- Onboard 100mbps switch: with 3 ports (one for network in, another for the ESP32 MCU and a network out for daisy chaining controllers), great if I want to add more controllers and lights in the future.
- Kit (£170): Includes controller board, 320W PSU, enclosure and all mounting hardware and cables needed
- DDP Support: Newer more efficient protocol for data
- Quality: Board is high quality, features protection fuses, easily maintained quick connectors, and conformally coated to resist condensation or other problems associated with outdoor use
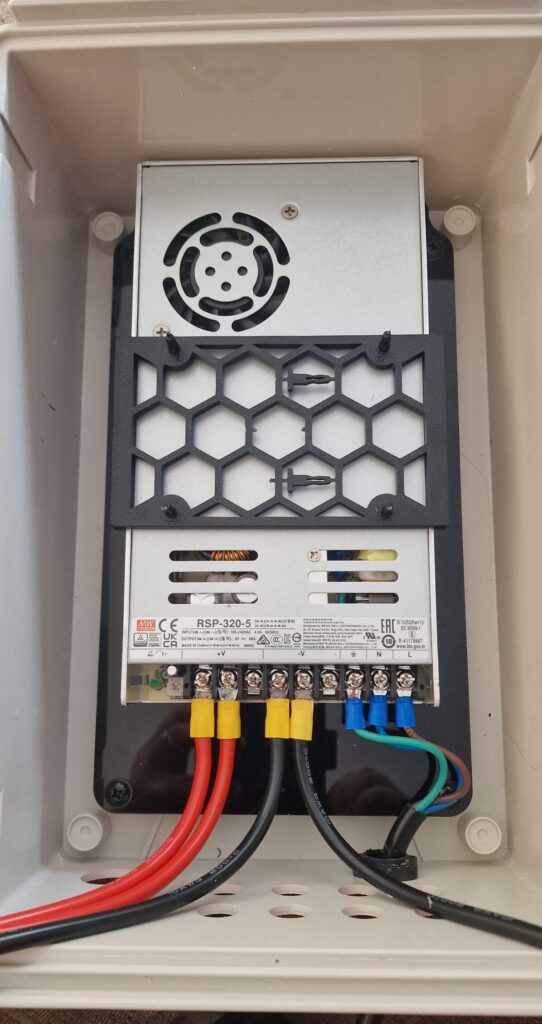
The kit arrived and has everything you need to get it built other than basic tools, cables are pre-crimped and the quality of all the components is high. All cables included are suitably rated, bearing in mind the PSU to board cable pairs must carry 30A each at max load. Construction was simple and took approximately an hour. Here are a few photos of the kit at various stages of the build…
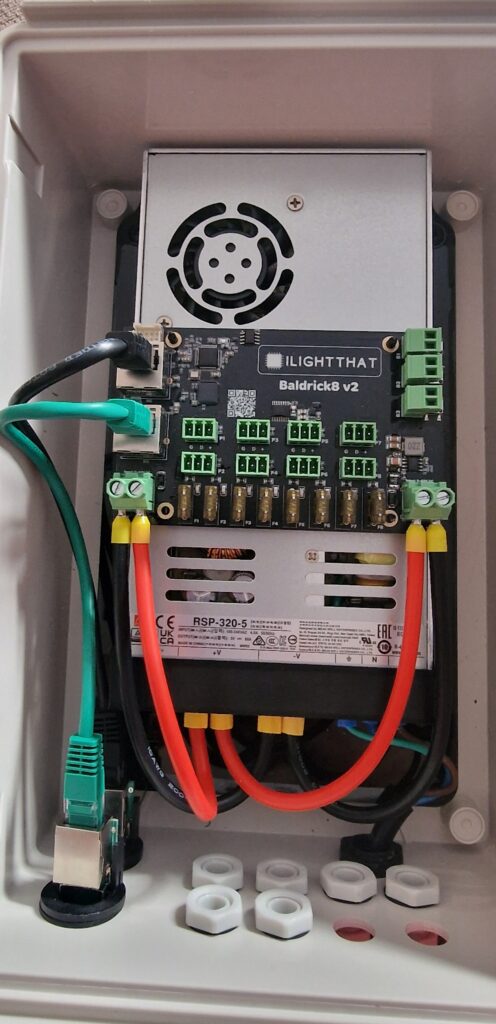
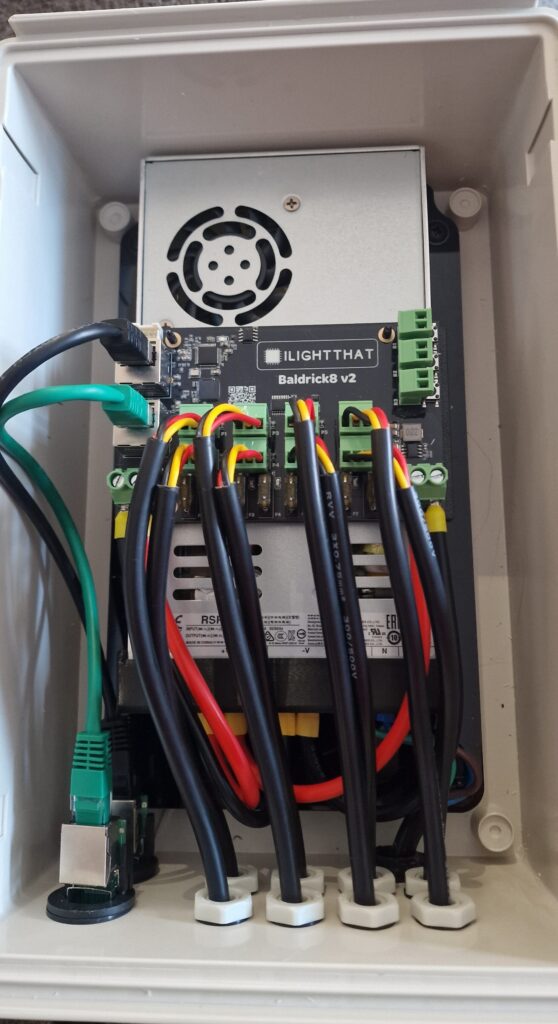
After building it was time to grab a prop and test, first a power on test without the prop connected. Then configuration of the device in my lights VLAN with a static IP, adding the controller to xLights, mapping lighting models to output ports and playing a short test sequence.
Seems to work very well and comfortably achieves 40 FPS update rate making the lighting effects appear a lot smoother. I look forward to erecting the device on the fence with the props in late November and will post an update with the final results.